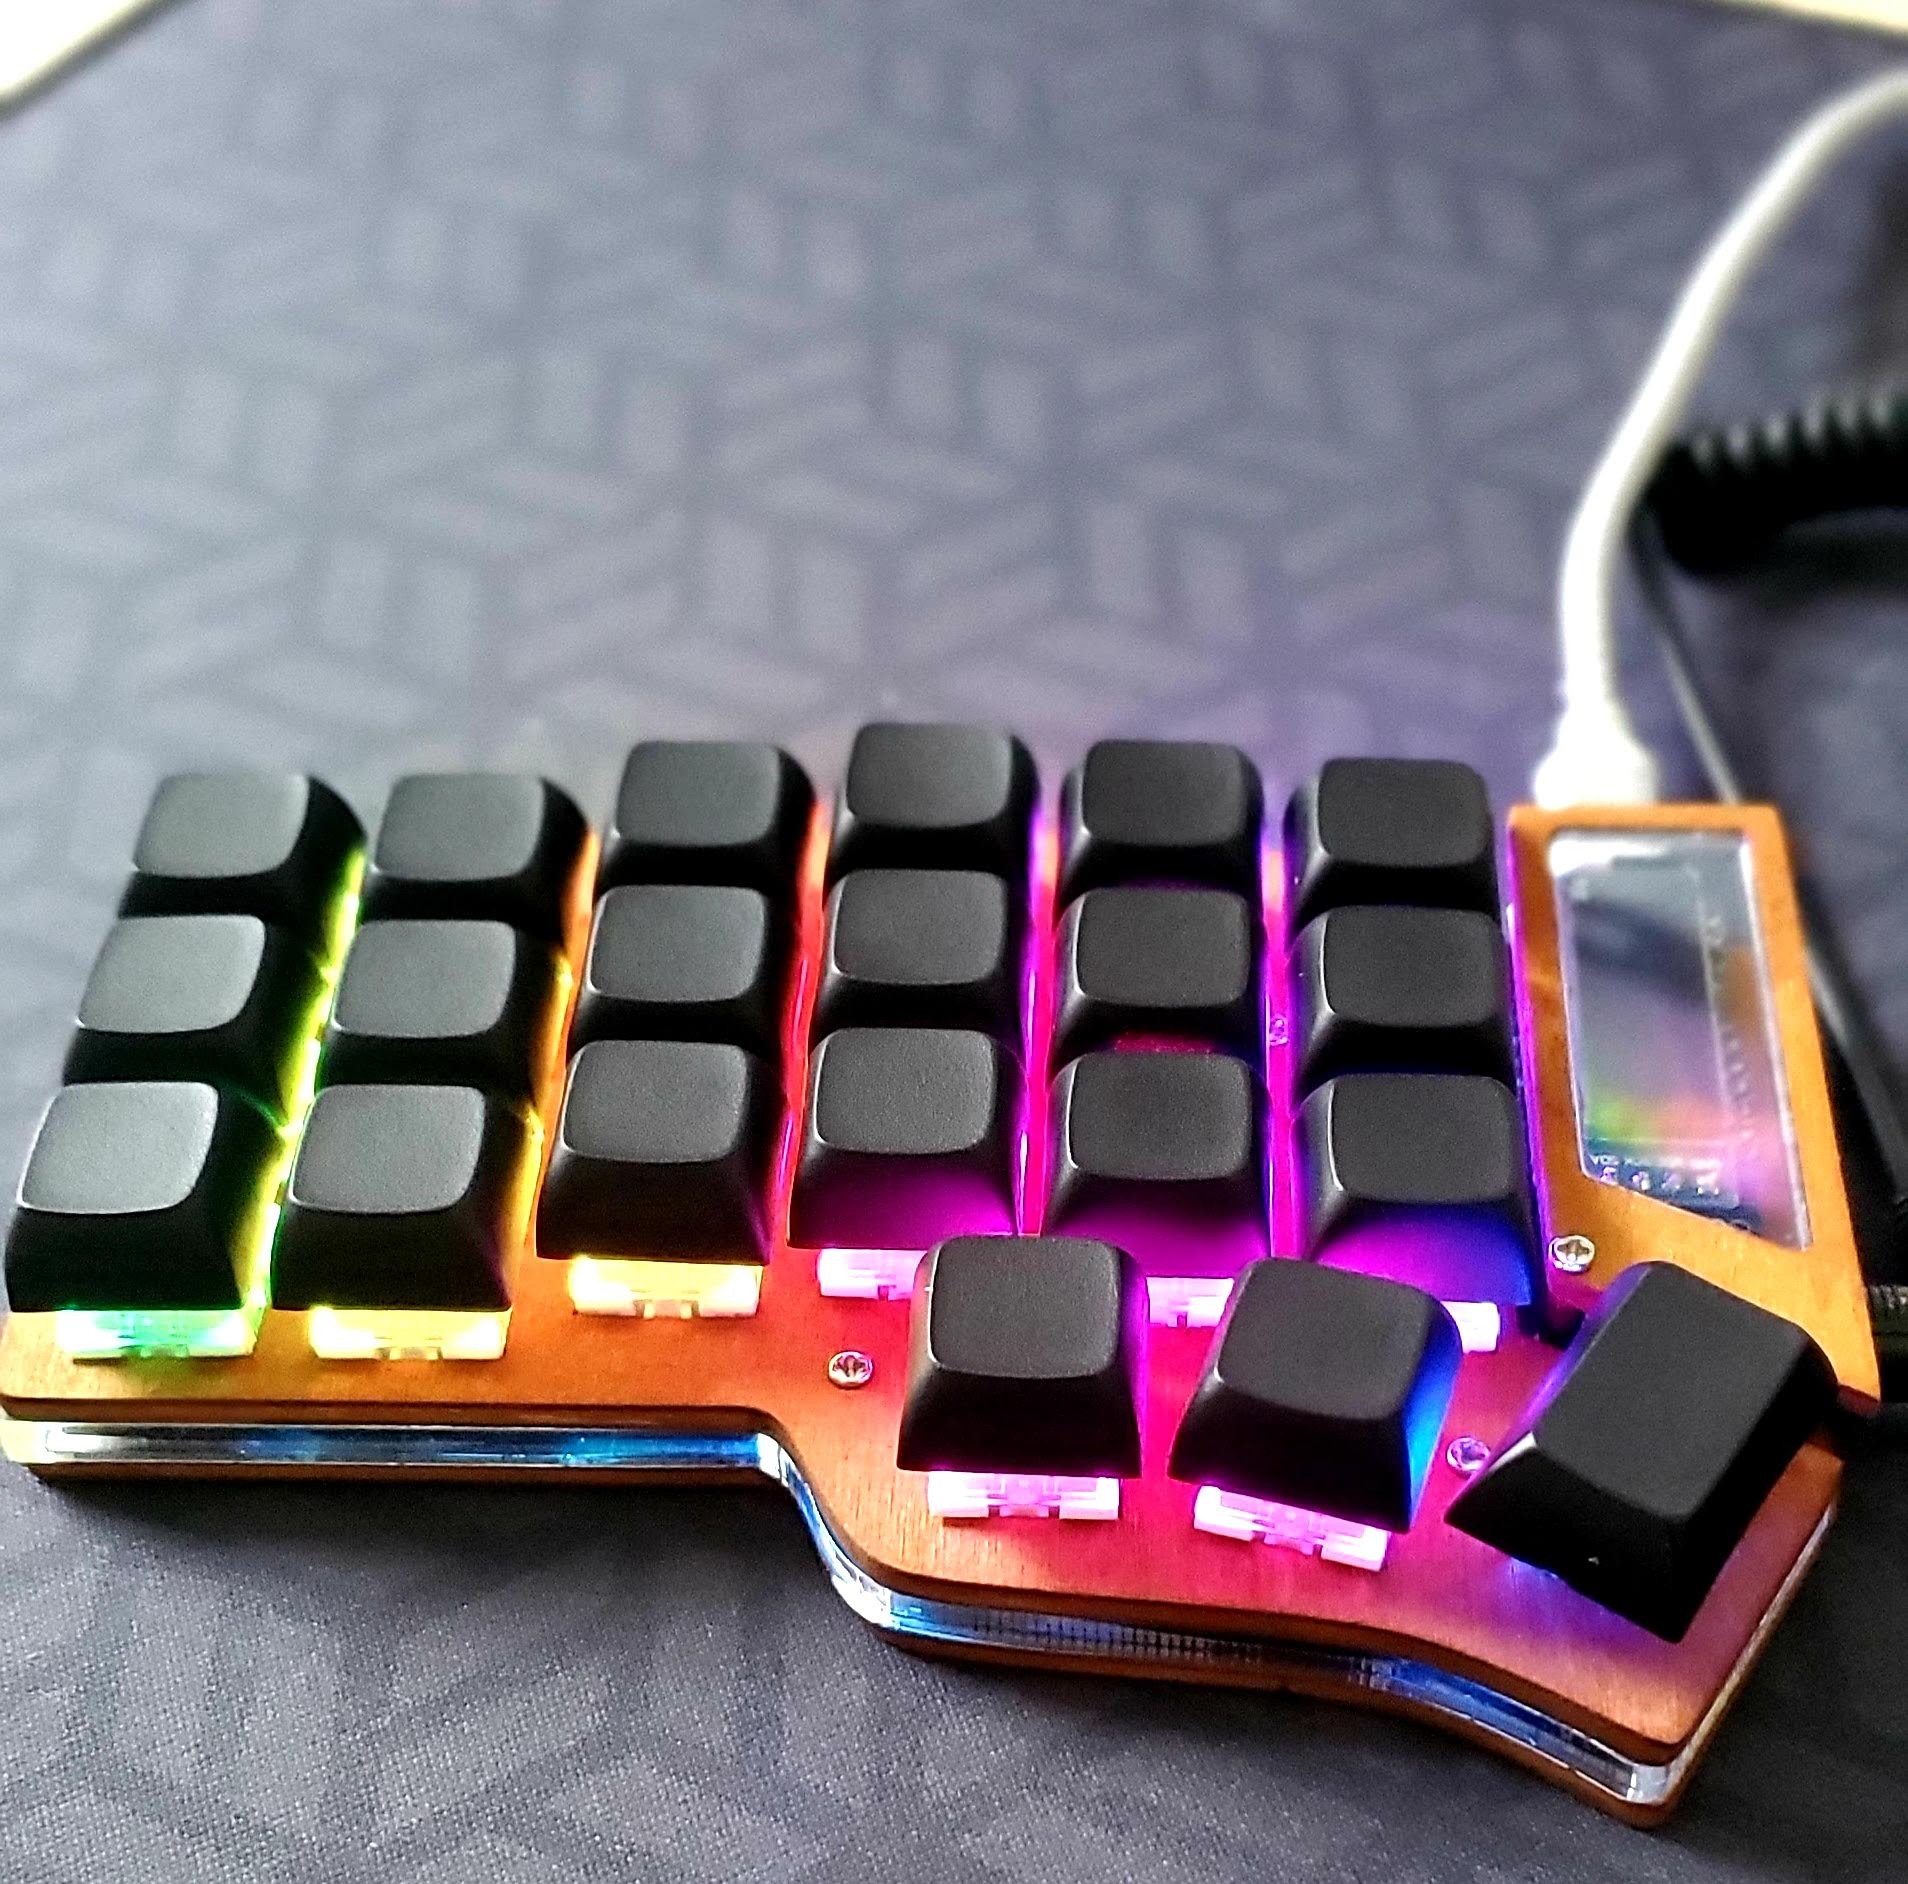
Helidox
Full disclosure: I have a mechanical keyboard addiction. I built this keyboard a while back. However, I loved it so much I wanted something special to add to it. The old case was simple and definitely awesome to look at, but I couldn’t help feeling that it needed something a bit more.
RSI, it’s no joke
I started developing some RSI (Repetitive Strain Injury) early on in my career. Like most people that get it, it was due to poor workplace ergonomics. I noticed that most normal keyboards forced my shoulders to roll inward, and this was a major issue. Sometimes it was truely debilitating and I’d have to stop using that arm for the day. I’m an active person. I found this unacceptable. One of the reasons I wanted a desk job for my career was because I’d rather get injured doing one of my hobbies than my work. I knew I had to change something. This is when I stumbled upon split keyboards.
Split keyboards allow my arms to move freely throughout the day. I can adjust my keyboard and move it all around my desk. I can make it further apart or closer together. I can tilt in or out, all depending on how I feel at the moment. This is exactly what you need if you have some RSI building up.
One of the best ways to prevent RSI is to readjust periodically. Readjust your keyboard, your desk height (hence the standing desk movement) and switch your workspace up. I even became a proficient “ambi-mouser”, so much so that my co-workers thought I was left handed (I’m not). So thus began my quest to build the Helidox since I couldn’t find anything off the shelf that would fulfill all my needs.
Design
I’ve always been a fan of the “returned to nature” minimalist style design. The Helidox definitely checks the minimalist box, however I wanted to incorporate a more natural feel to the board. It already does such an amazing job at relieving my RSI. I thought it’d be cool to give it a more natural look as well.
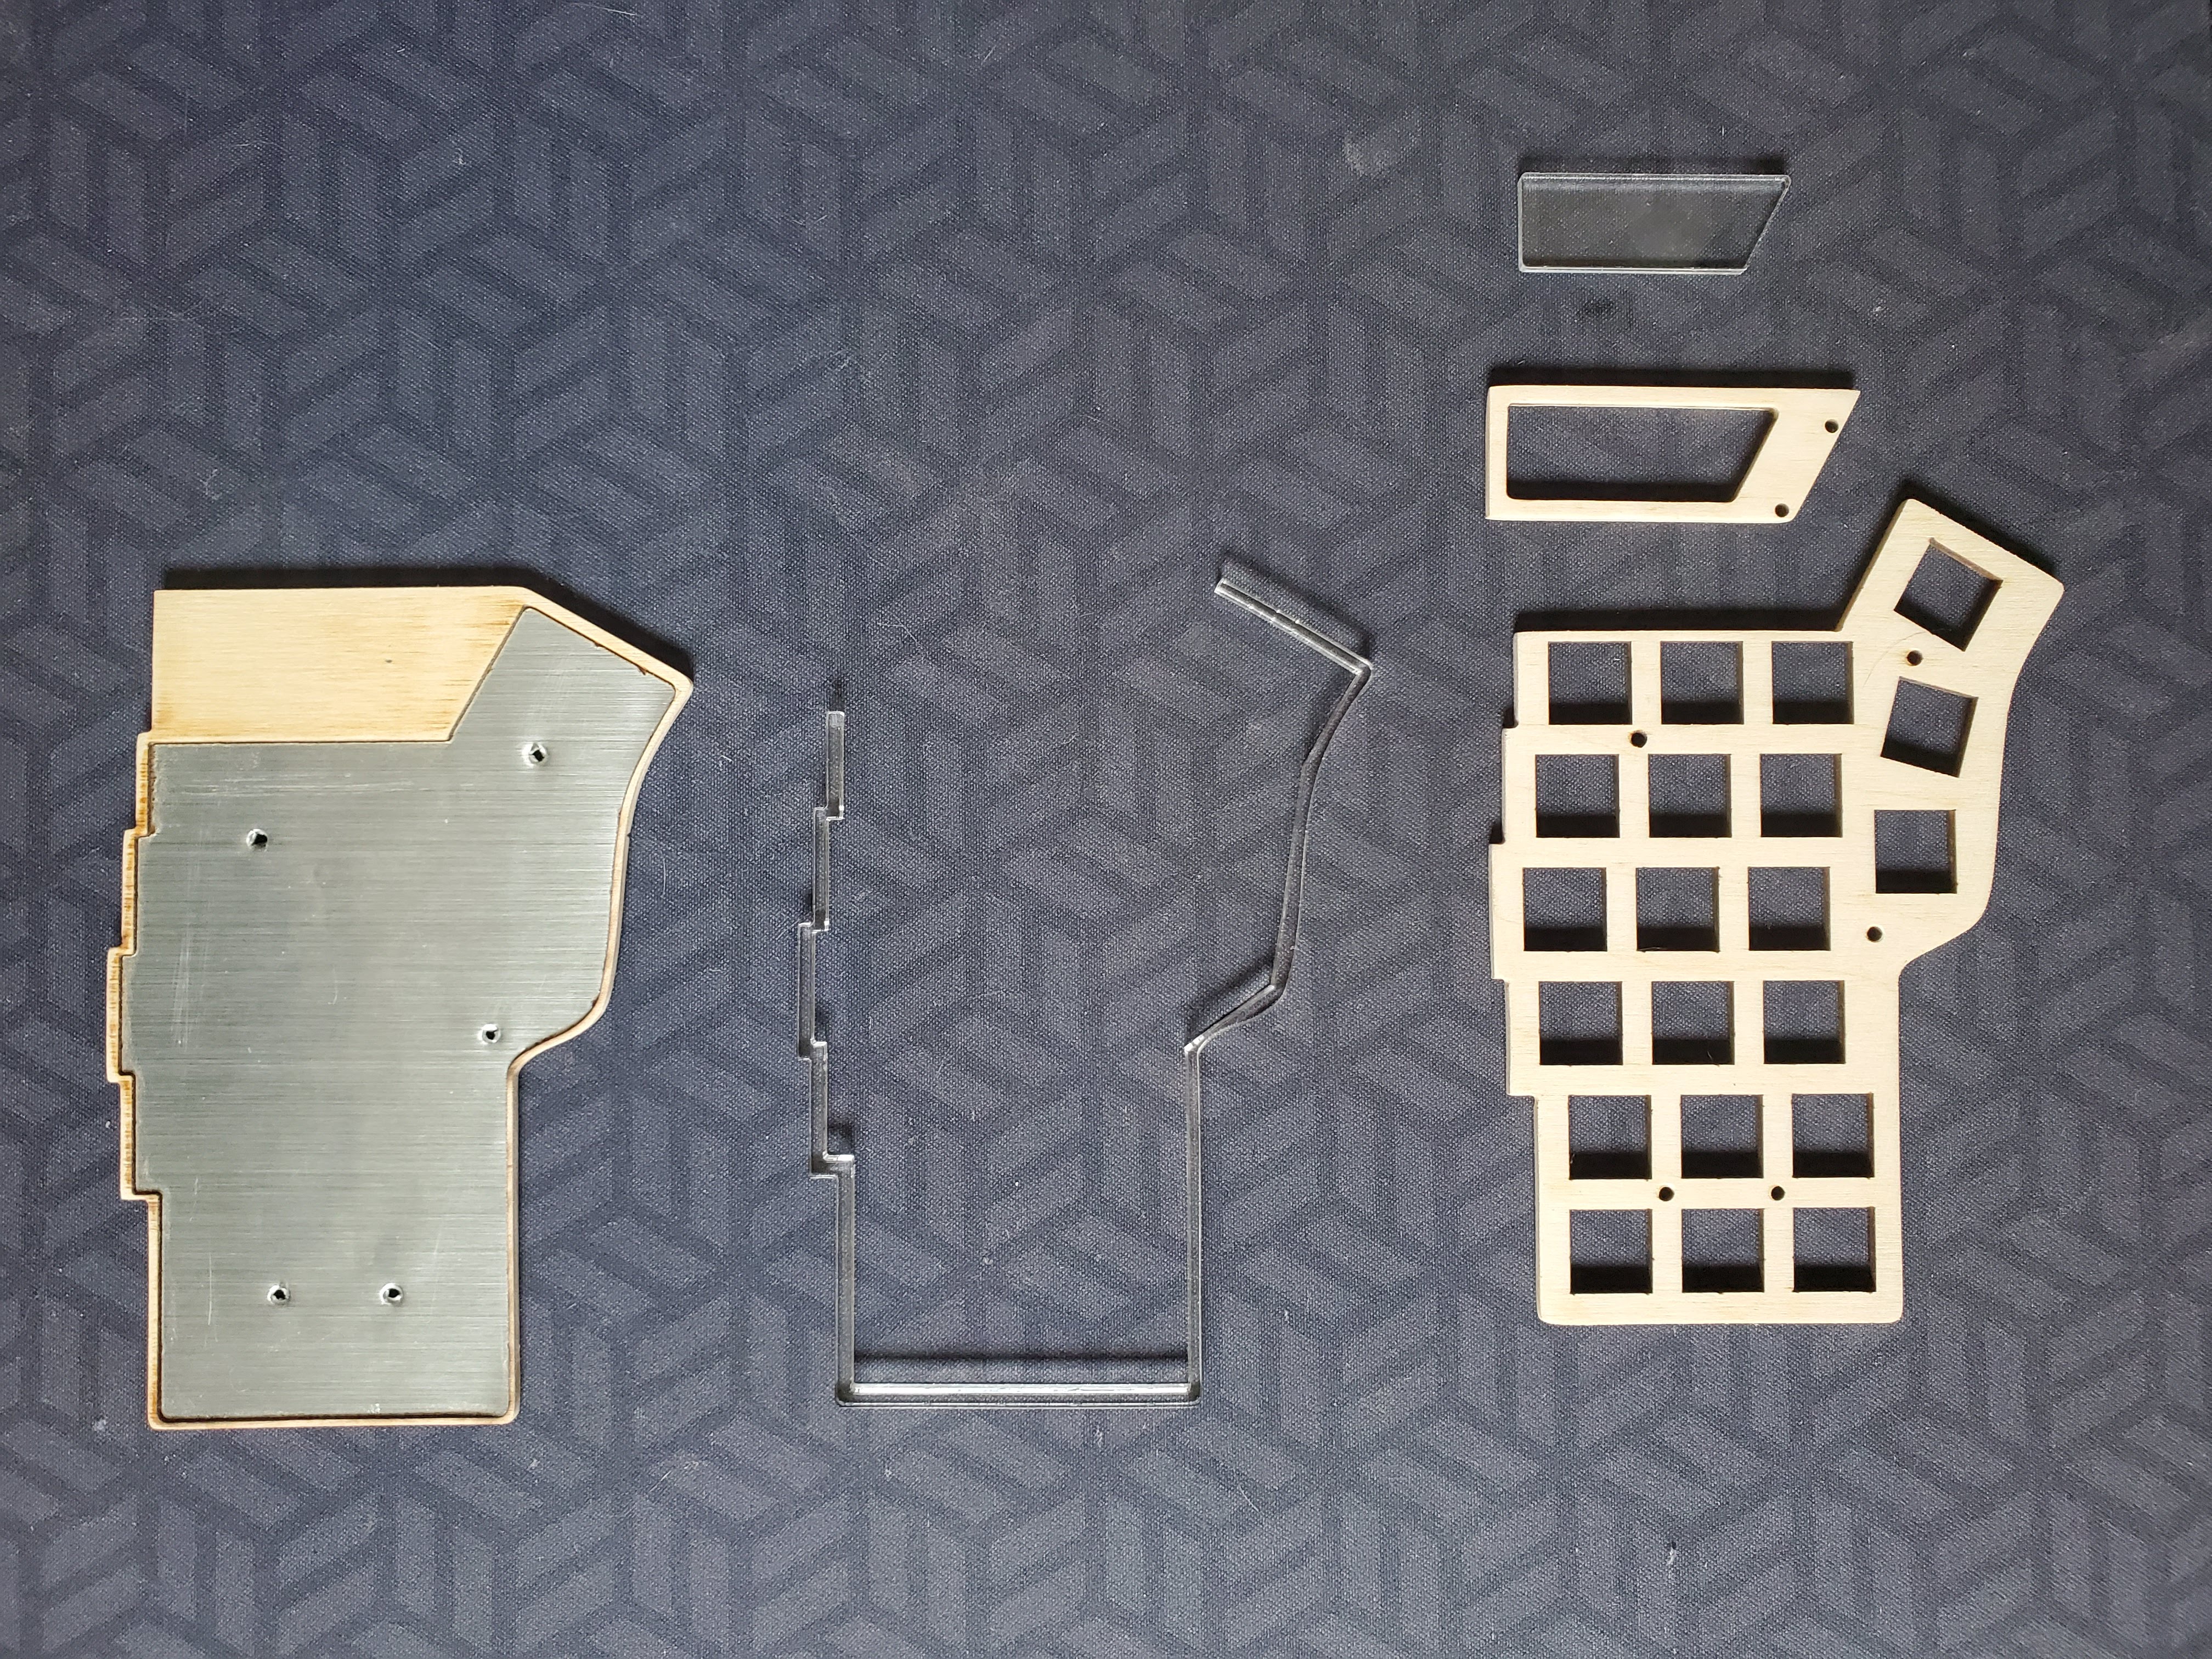
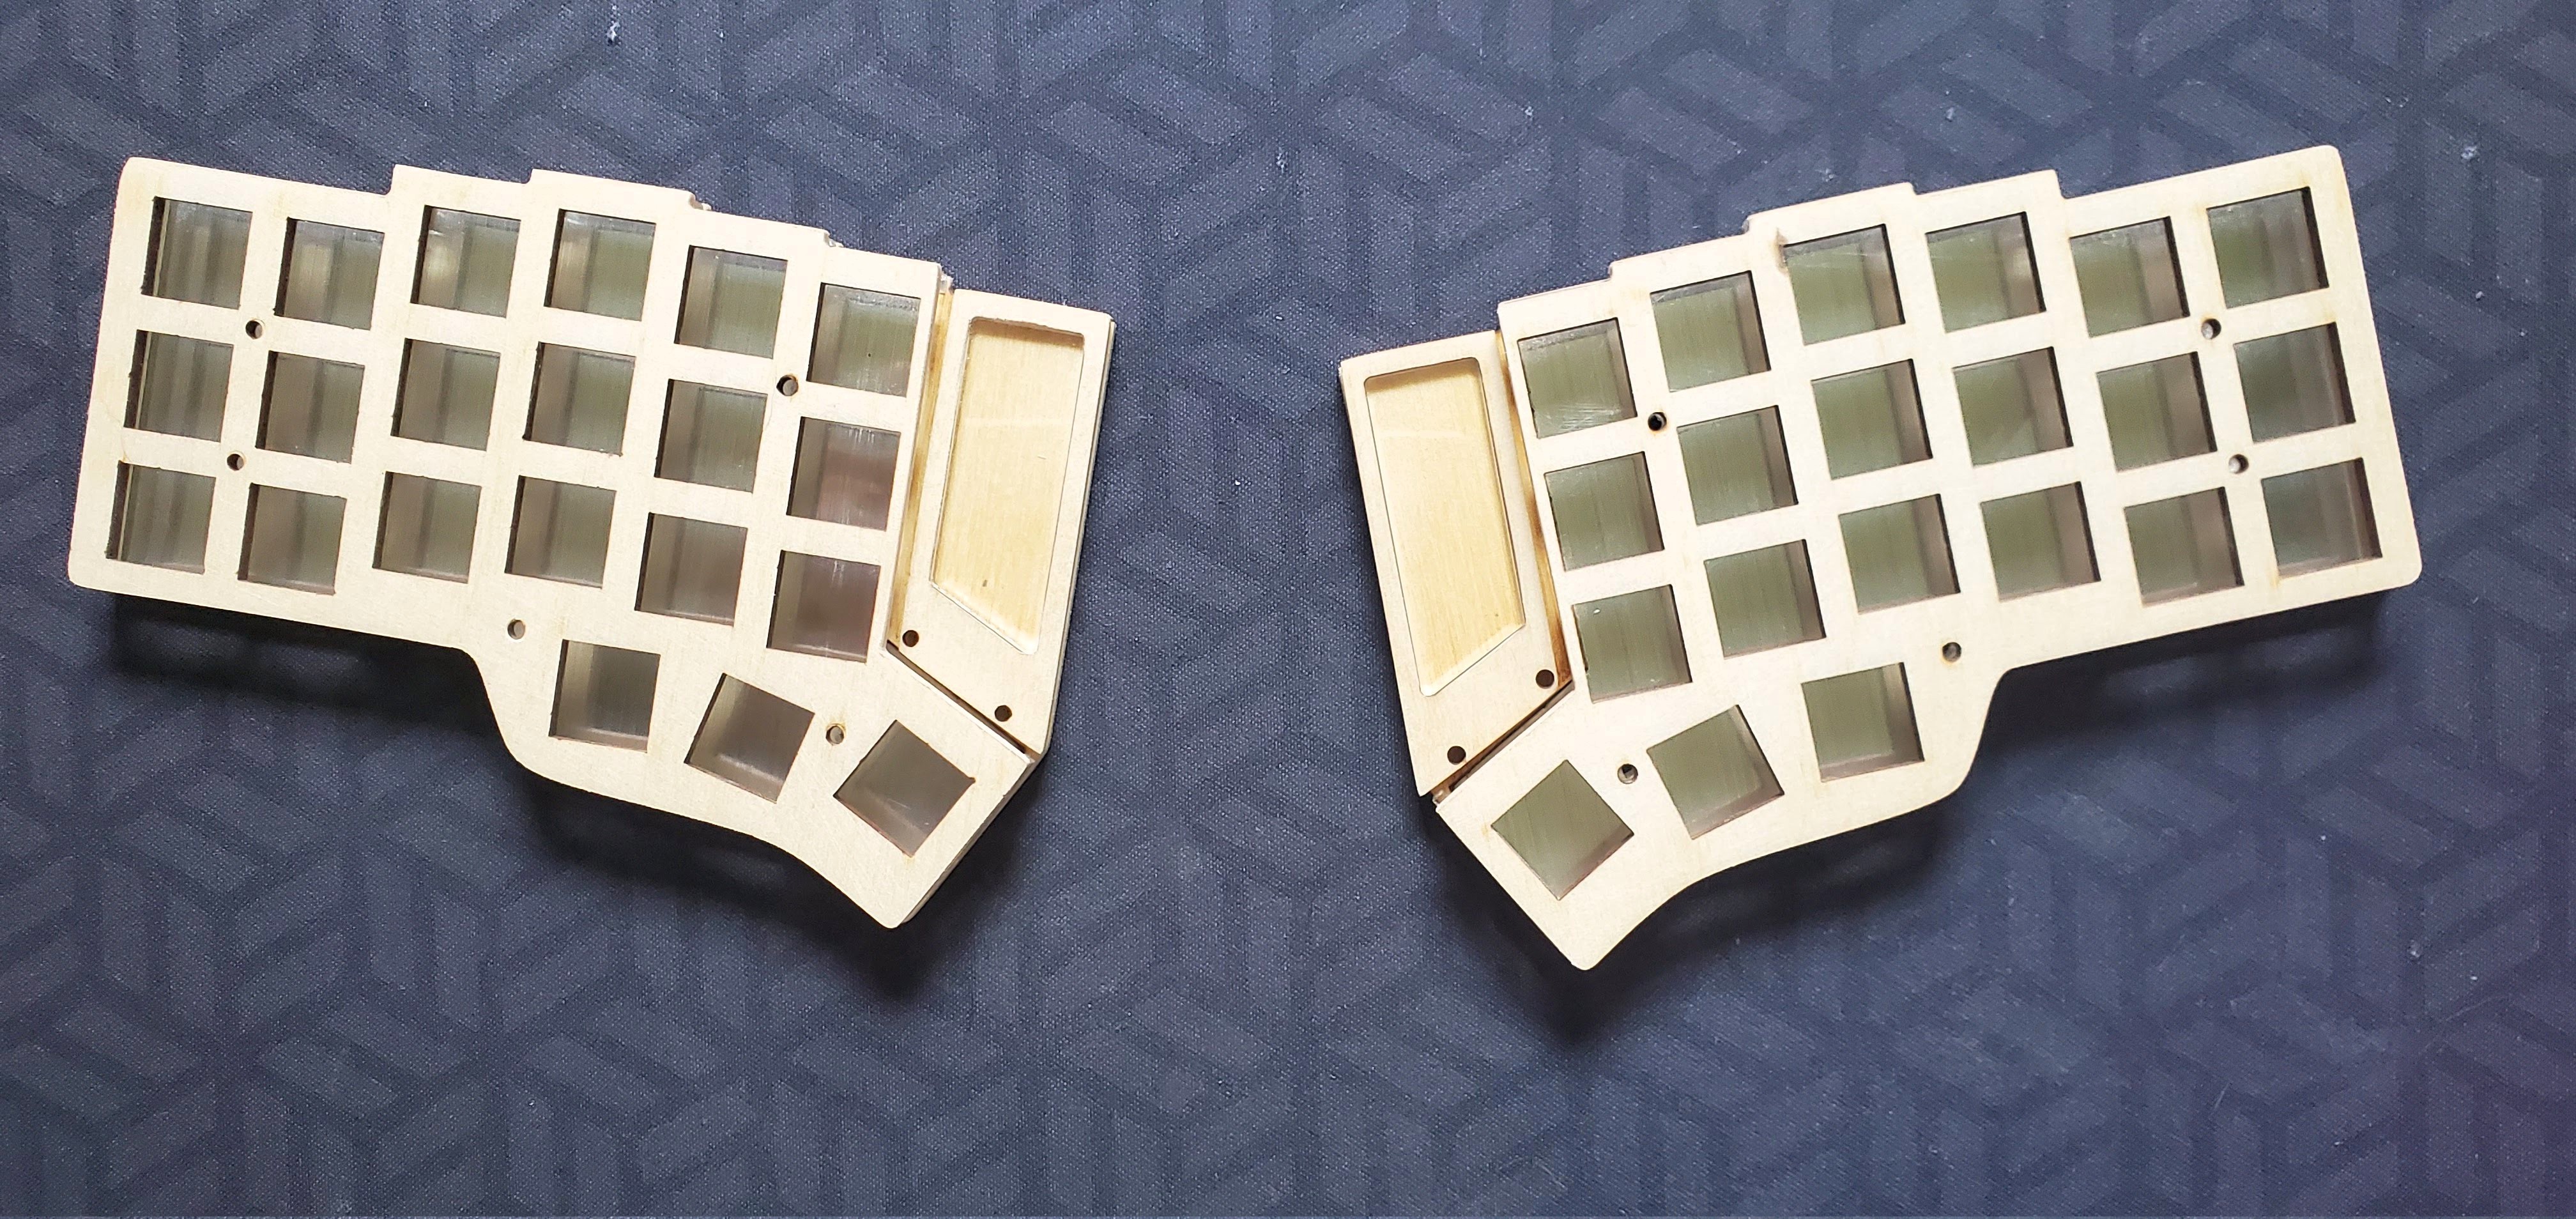
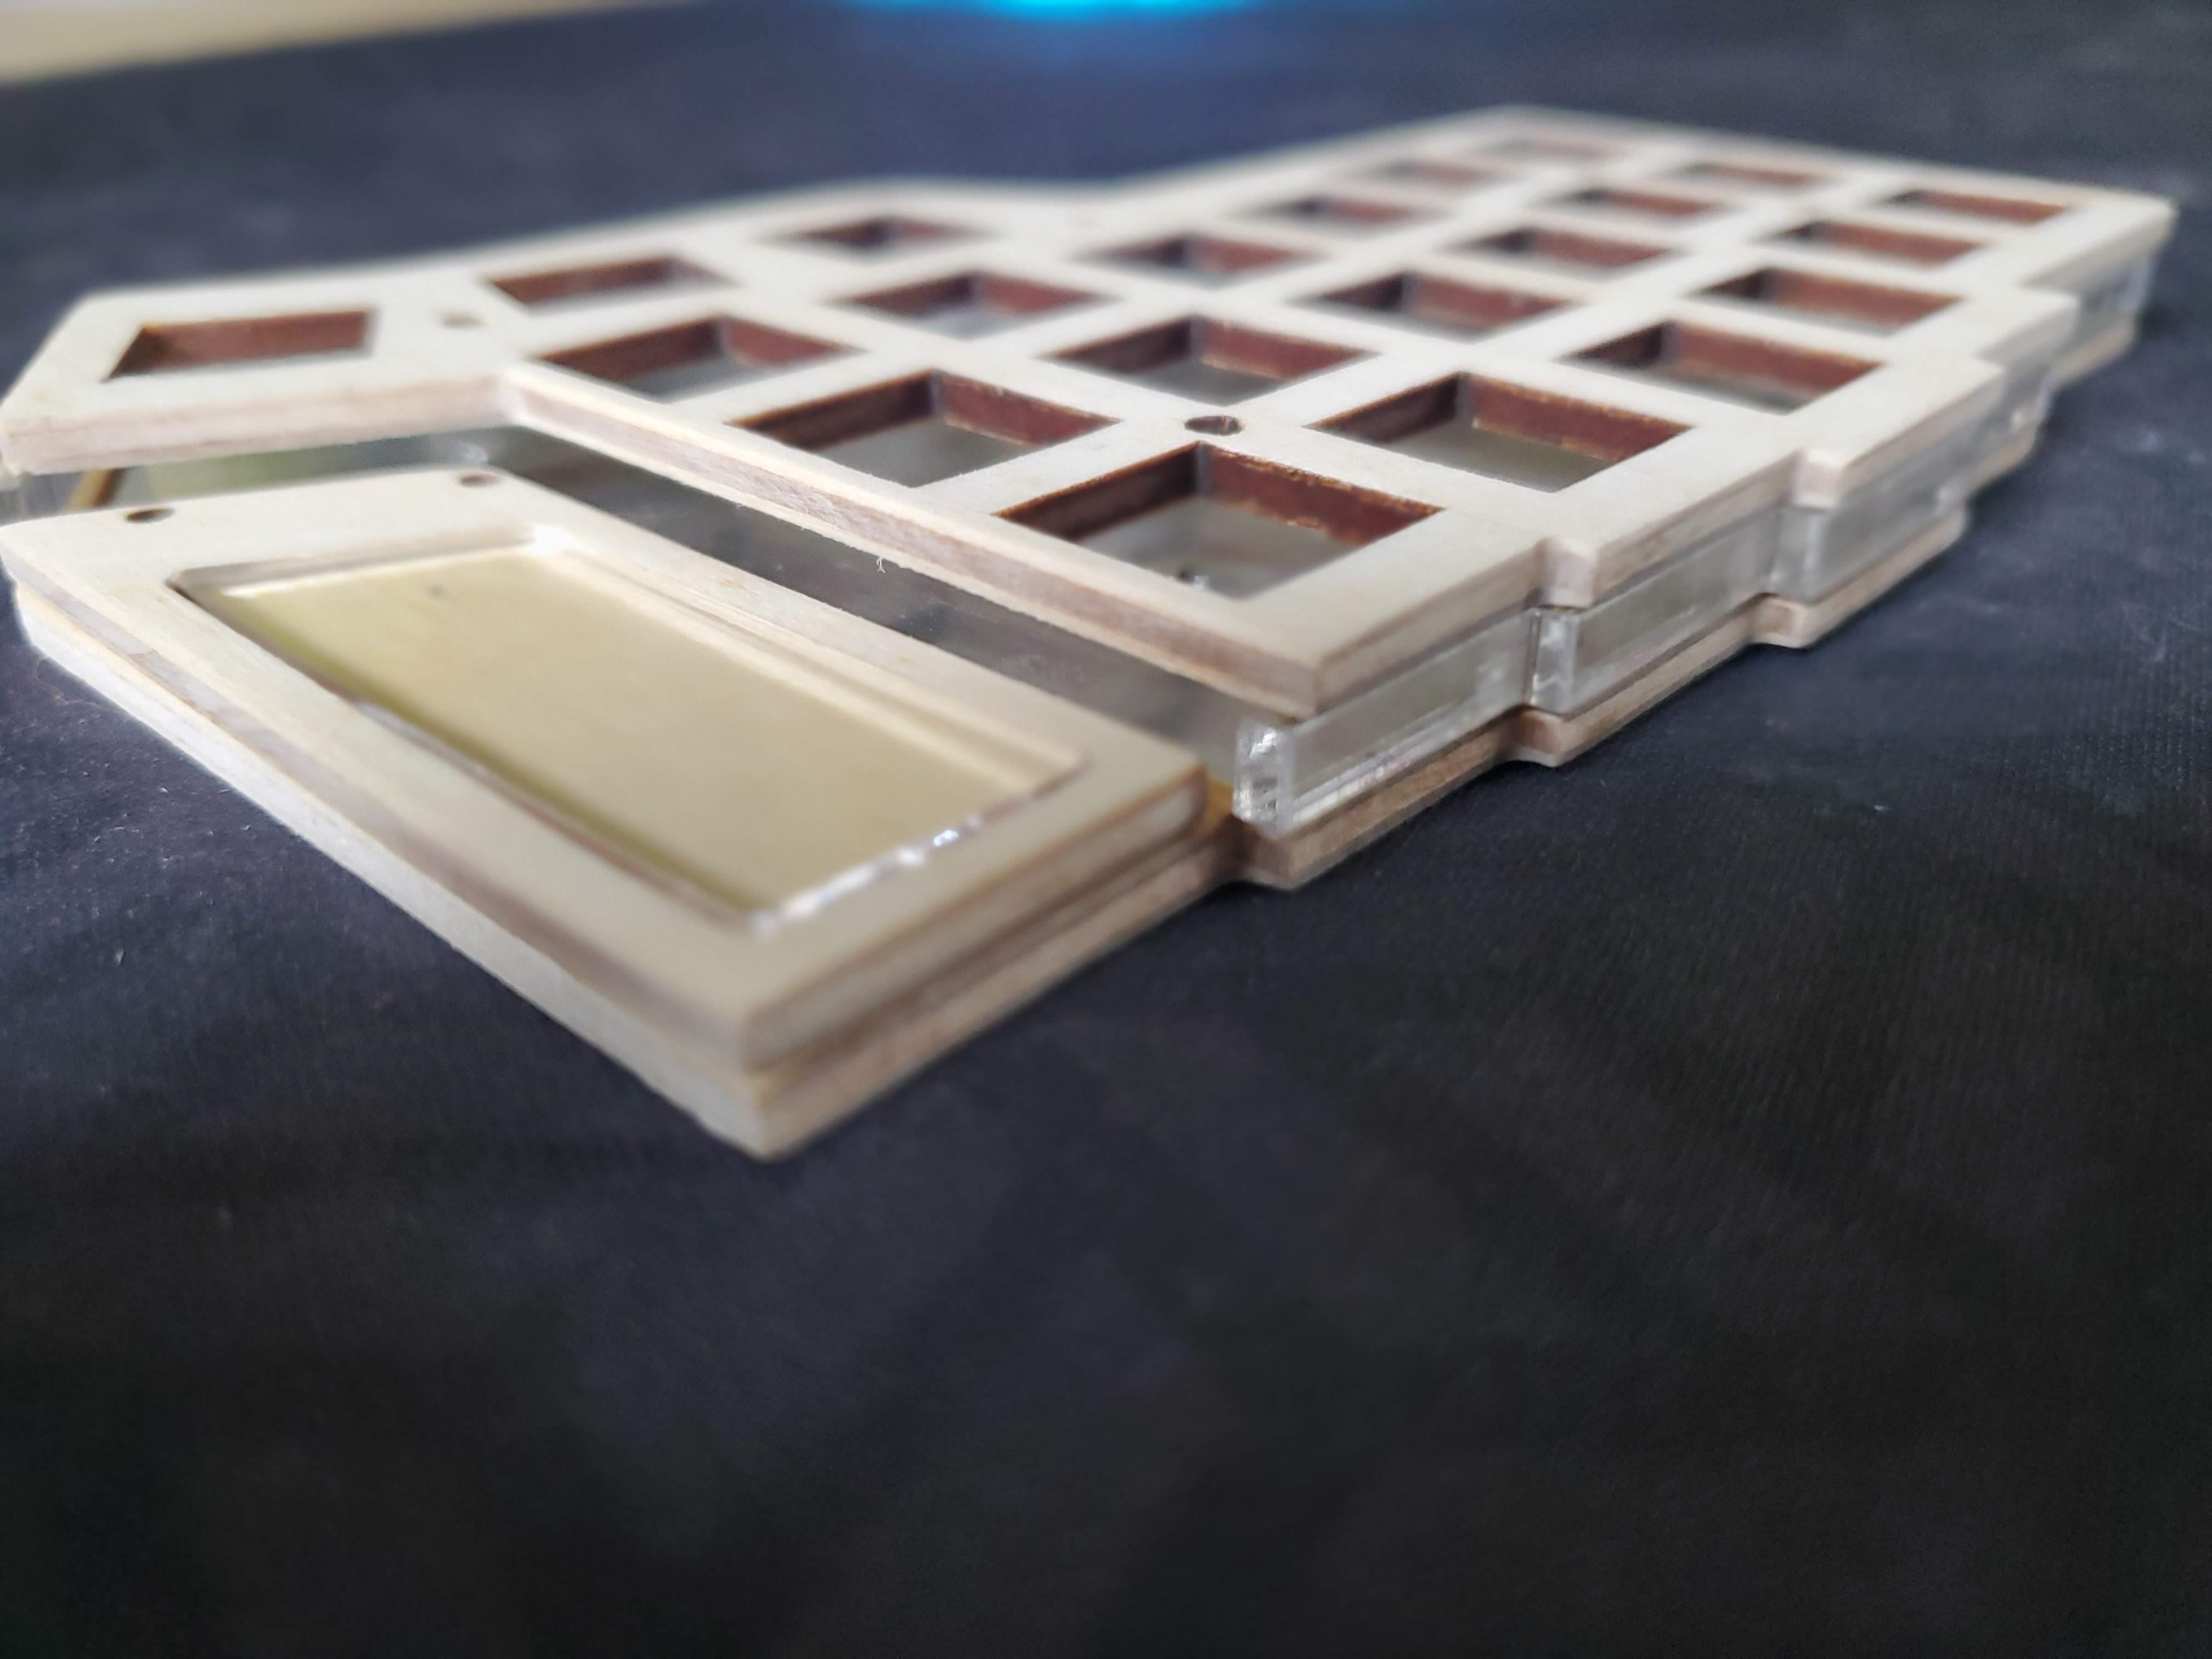
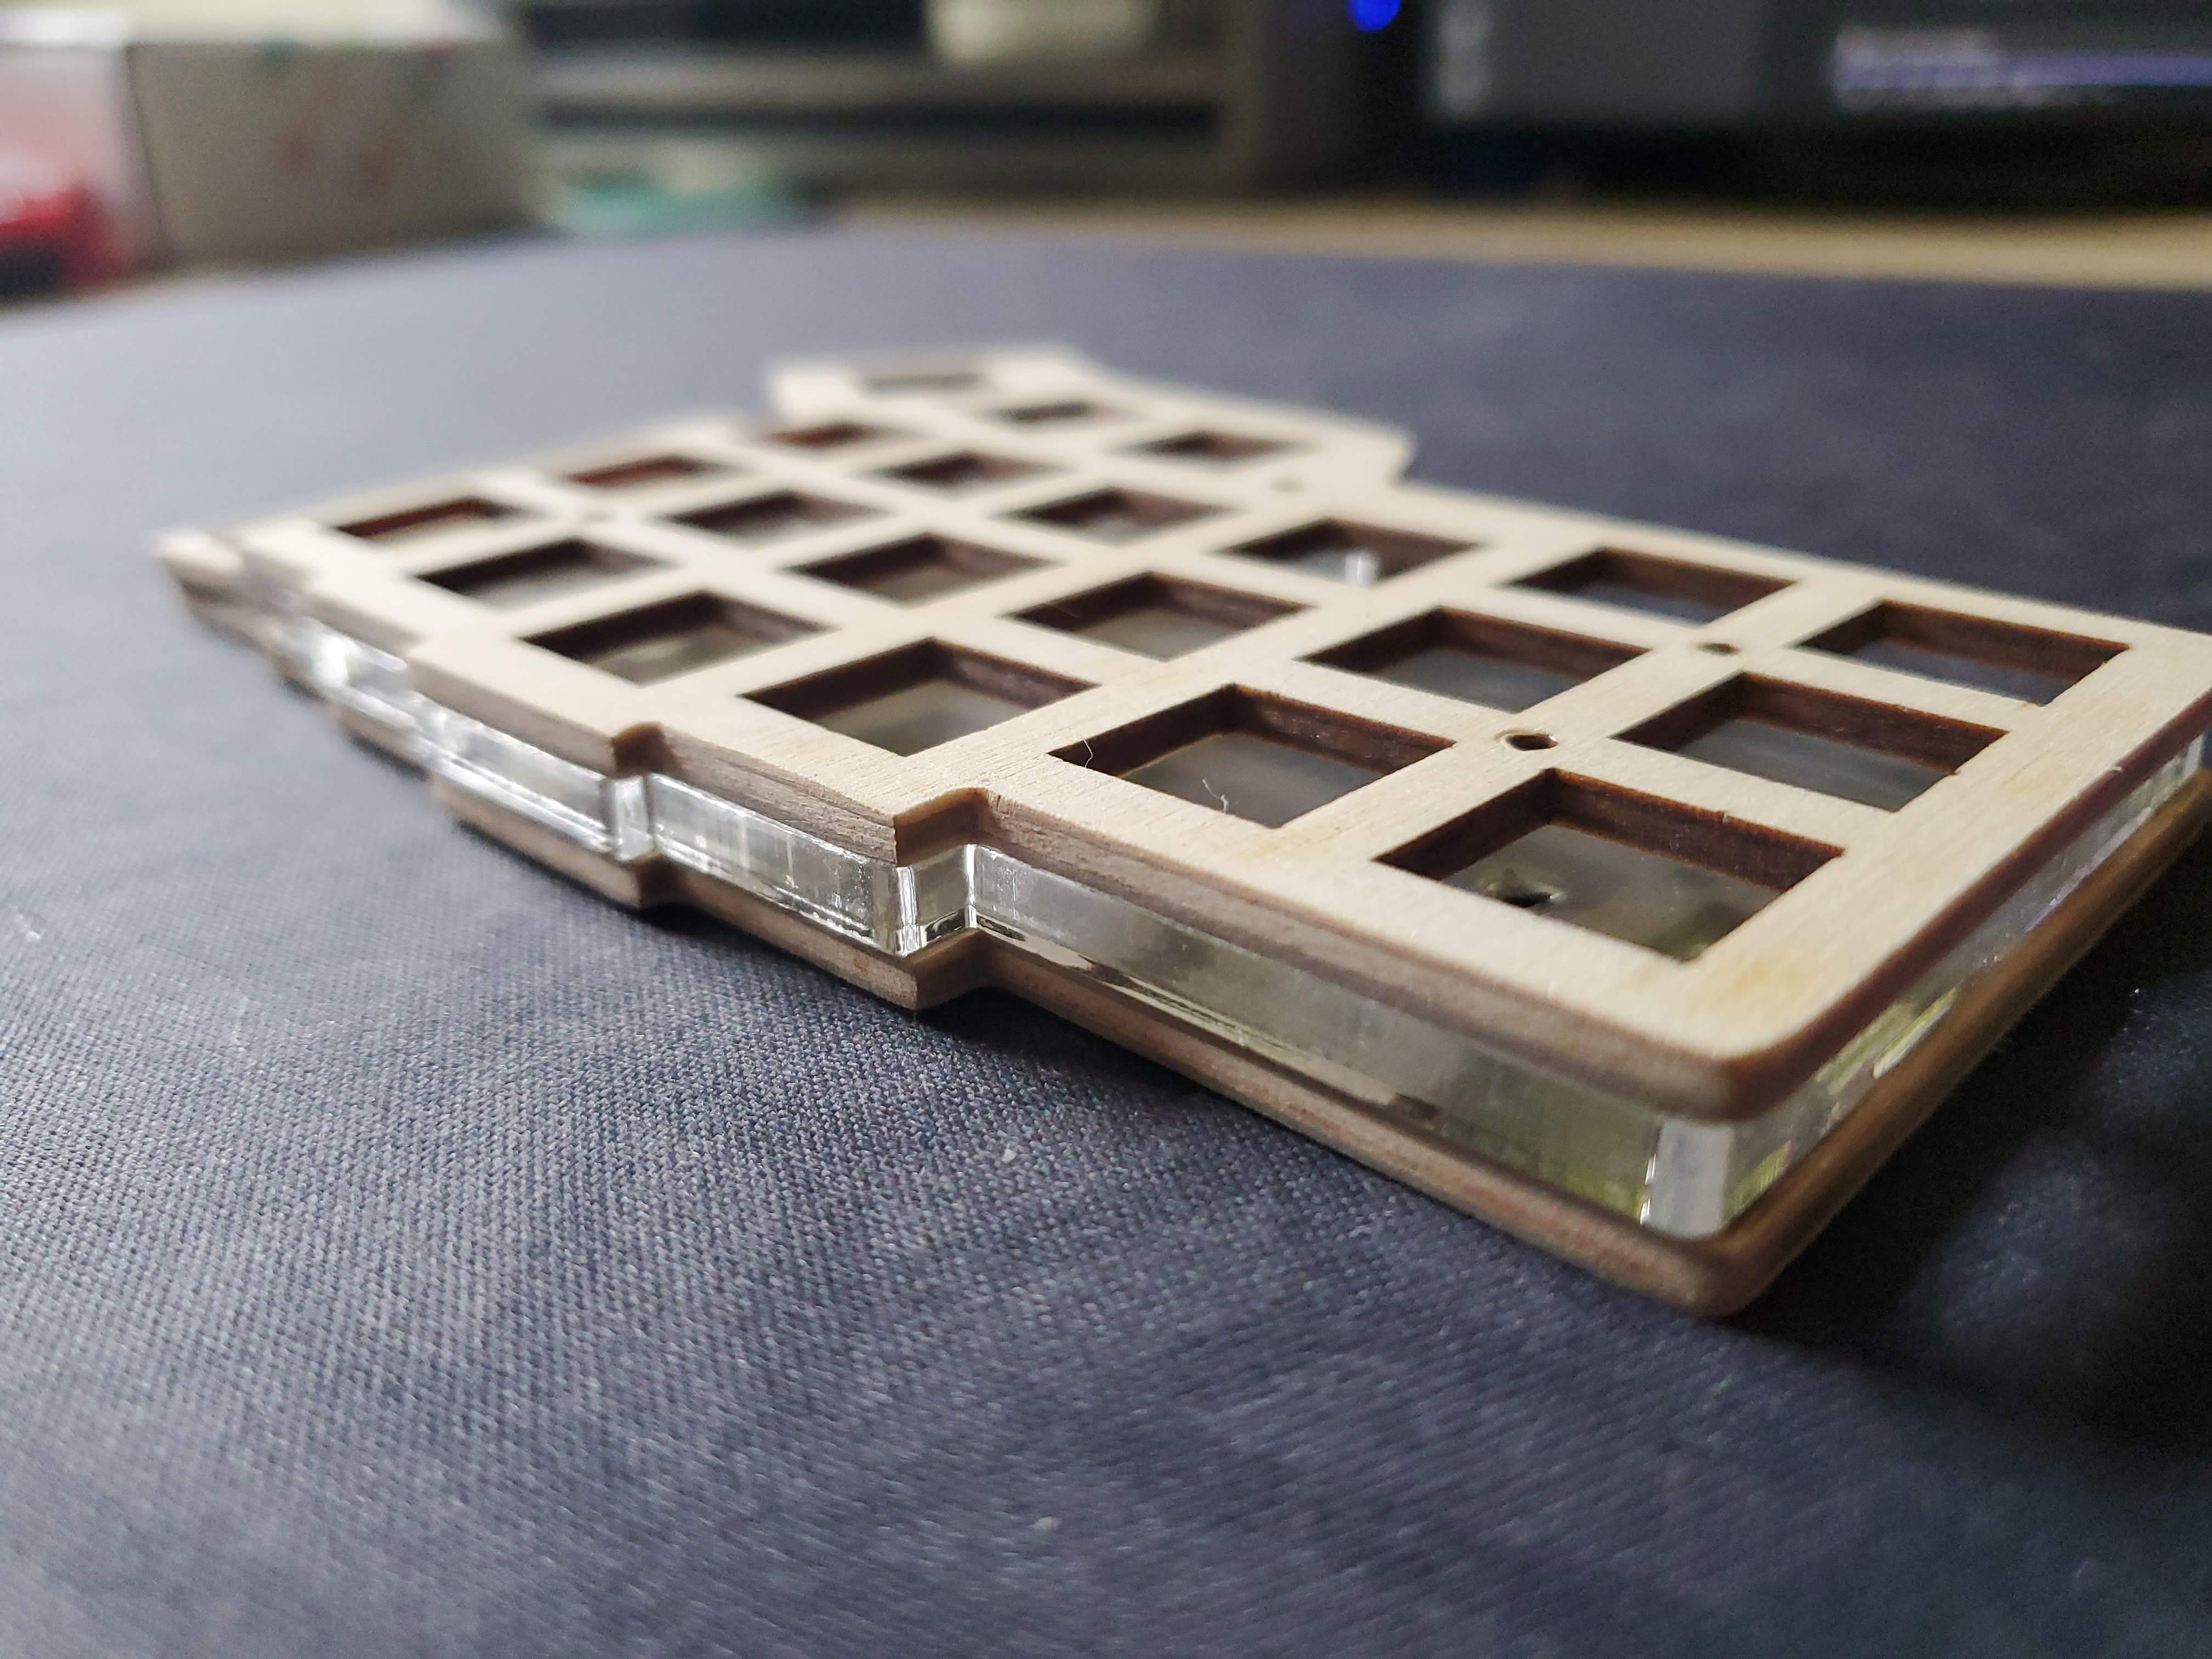
I began with designing some new vector files for the case design. I started with the originals and made the top and bottom plates of the case a hair larger by about 10%. Then, I overlayed the original cases design with the slightly larger case design and took the difference. I used this to create the transparent middle acrylic layer. All my files can be found on my github
The small windows that protect the LCD screens took a little more thought. I tried a few iterations and decided to have an overly large window which allowed them to be perfectly horizontally centered. I tried iterations that made them line up with the LCD screen, however this didn’t have the aesthetically pleasing look I wanted. In the end, I decided on the current iteration.

LASERs
I learned a lot about laser cutting and etching in the process. I used this project to get familiar with the Epilog Fusion M2 LASER cutter. The first piece of advice is to always order more product than you need. You’ll make mistakes and more importantly, you’re going to want to explore the designs and settings.
The biggest learning curve for me was figuring out the etch and cut settings. There’s essentially a few settings that need to be adjusted. The resolution settings that vary depending on thickness of your medium, power, frequency of the LASER, speed are the major settings. However, you have all those setting for etching and cutting. Not to mention the focus of the LASER beam and bed calibration.
The LASER is always going to be a tiny bit, millimeters, off from where the medium is actually sitting in the bed. I quickly learned to plan for this, so I didn’t align my vector designs up perfectly with the edges of the canvas. I’m sure, if needed, one could calibrate the LASER to be exact. However, this seemed to fall into the realm of diminishing returns because the metal edges of the LASER bed get worn out from use over time. Things like metal sheets clanking against the edges and the LASER itself striking the surface seem to wear down the edges. It’s best to plan for this minor misalignment, then there won’t be any surprises.
Getting the settings in the goldilocks zone is more a matter of perseverance than anything else. I used inkscape to draw up my designs because it’s the best free open source vector graphic design software out there. As a matter of fact, I prefer to use it over anything else. I tried Corel but just couldn’t overcome my knowledge and skills that came from using Inkscape for years. Also, knowing all the hotkeys in inkscape makes it extremely useful for me.
I etched out the bed of the bottom case to allow more room for the underglow LEDs to shine. I LAZER cut a piece of shiny contact paper to help reflect the light from the underglow. It still isn’t super bright in direct light. However, it does light up nicely. If my workspace is soft lighting, which it is most of the time. The lights shine through the middle layer nicely.
Staining
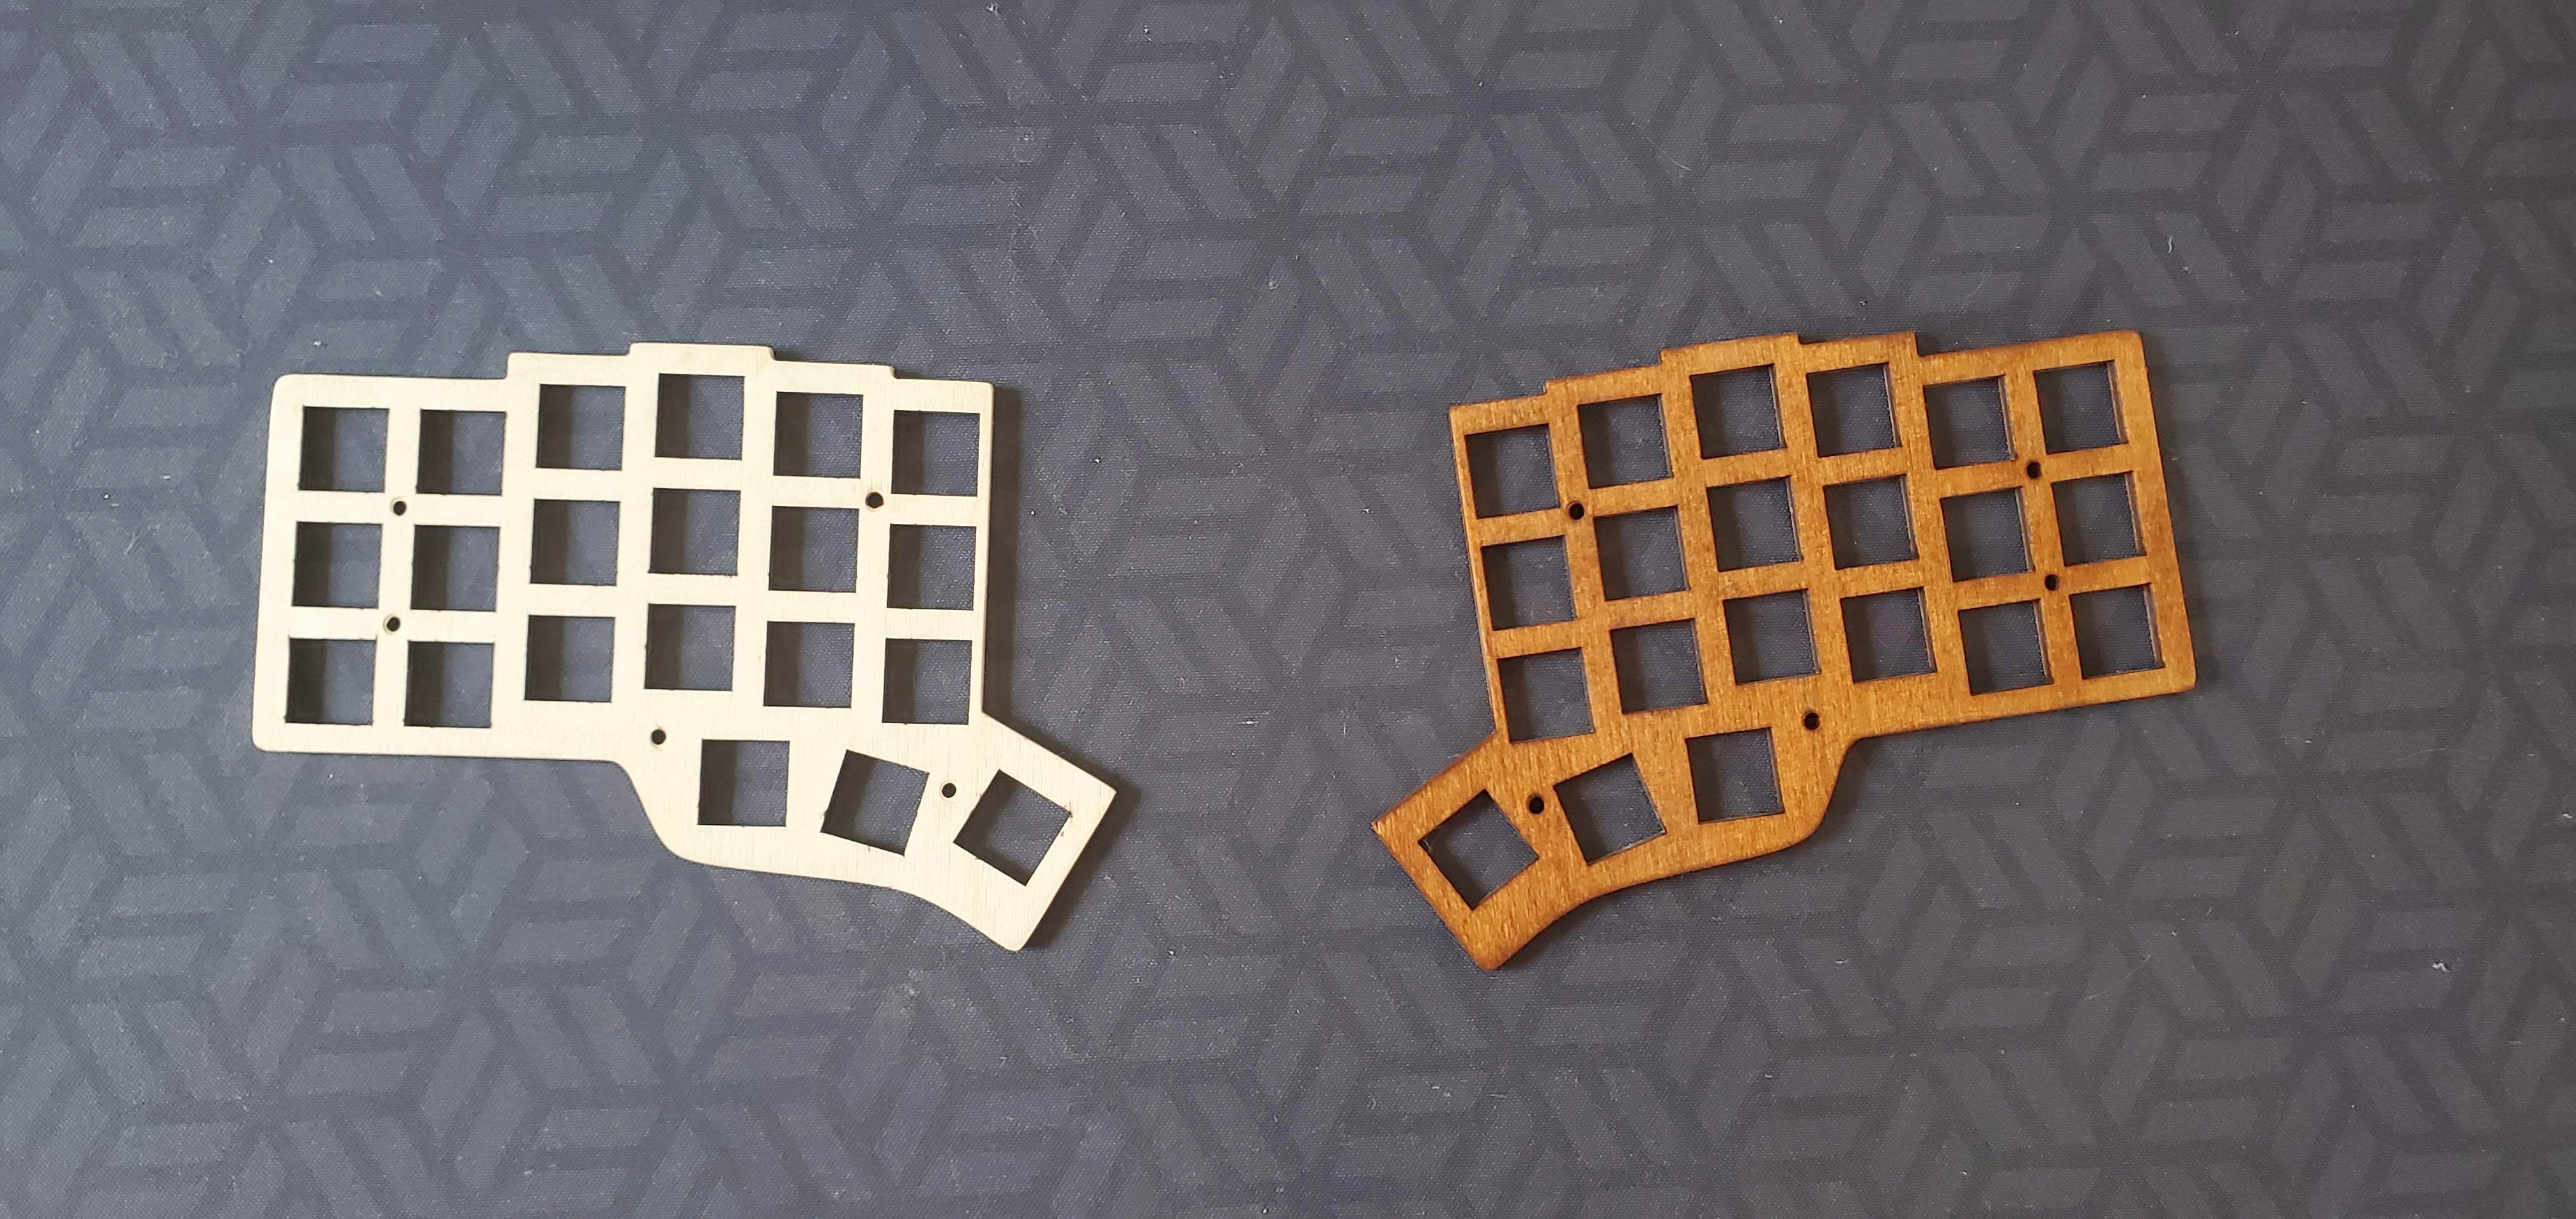
I used some 1/8” baltic birch wood. I sanded it down to remove the burn marks from the LASER. Then I applied the stain and let it sit overnight. I wanted a dark stain that would really give it a natural feel. I settled on a water based dark walnut stain for gun stocks. I went with Birchwood Casey. I couldn’t have been more pleased.
The build
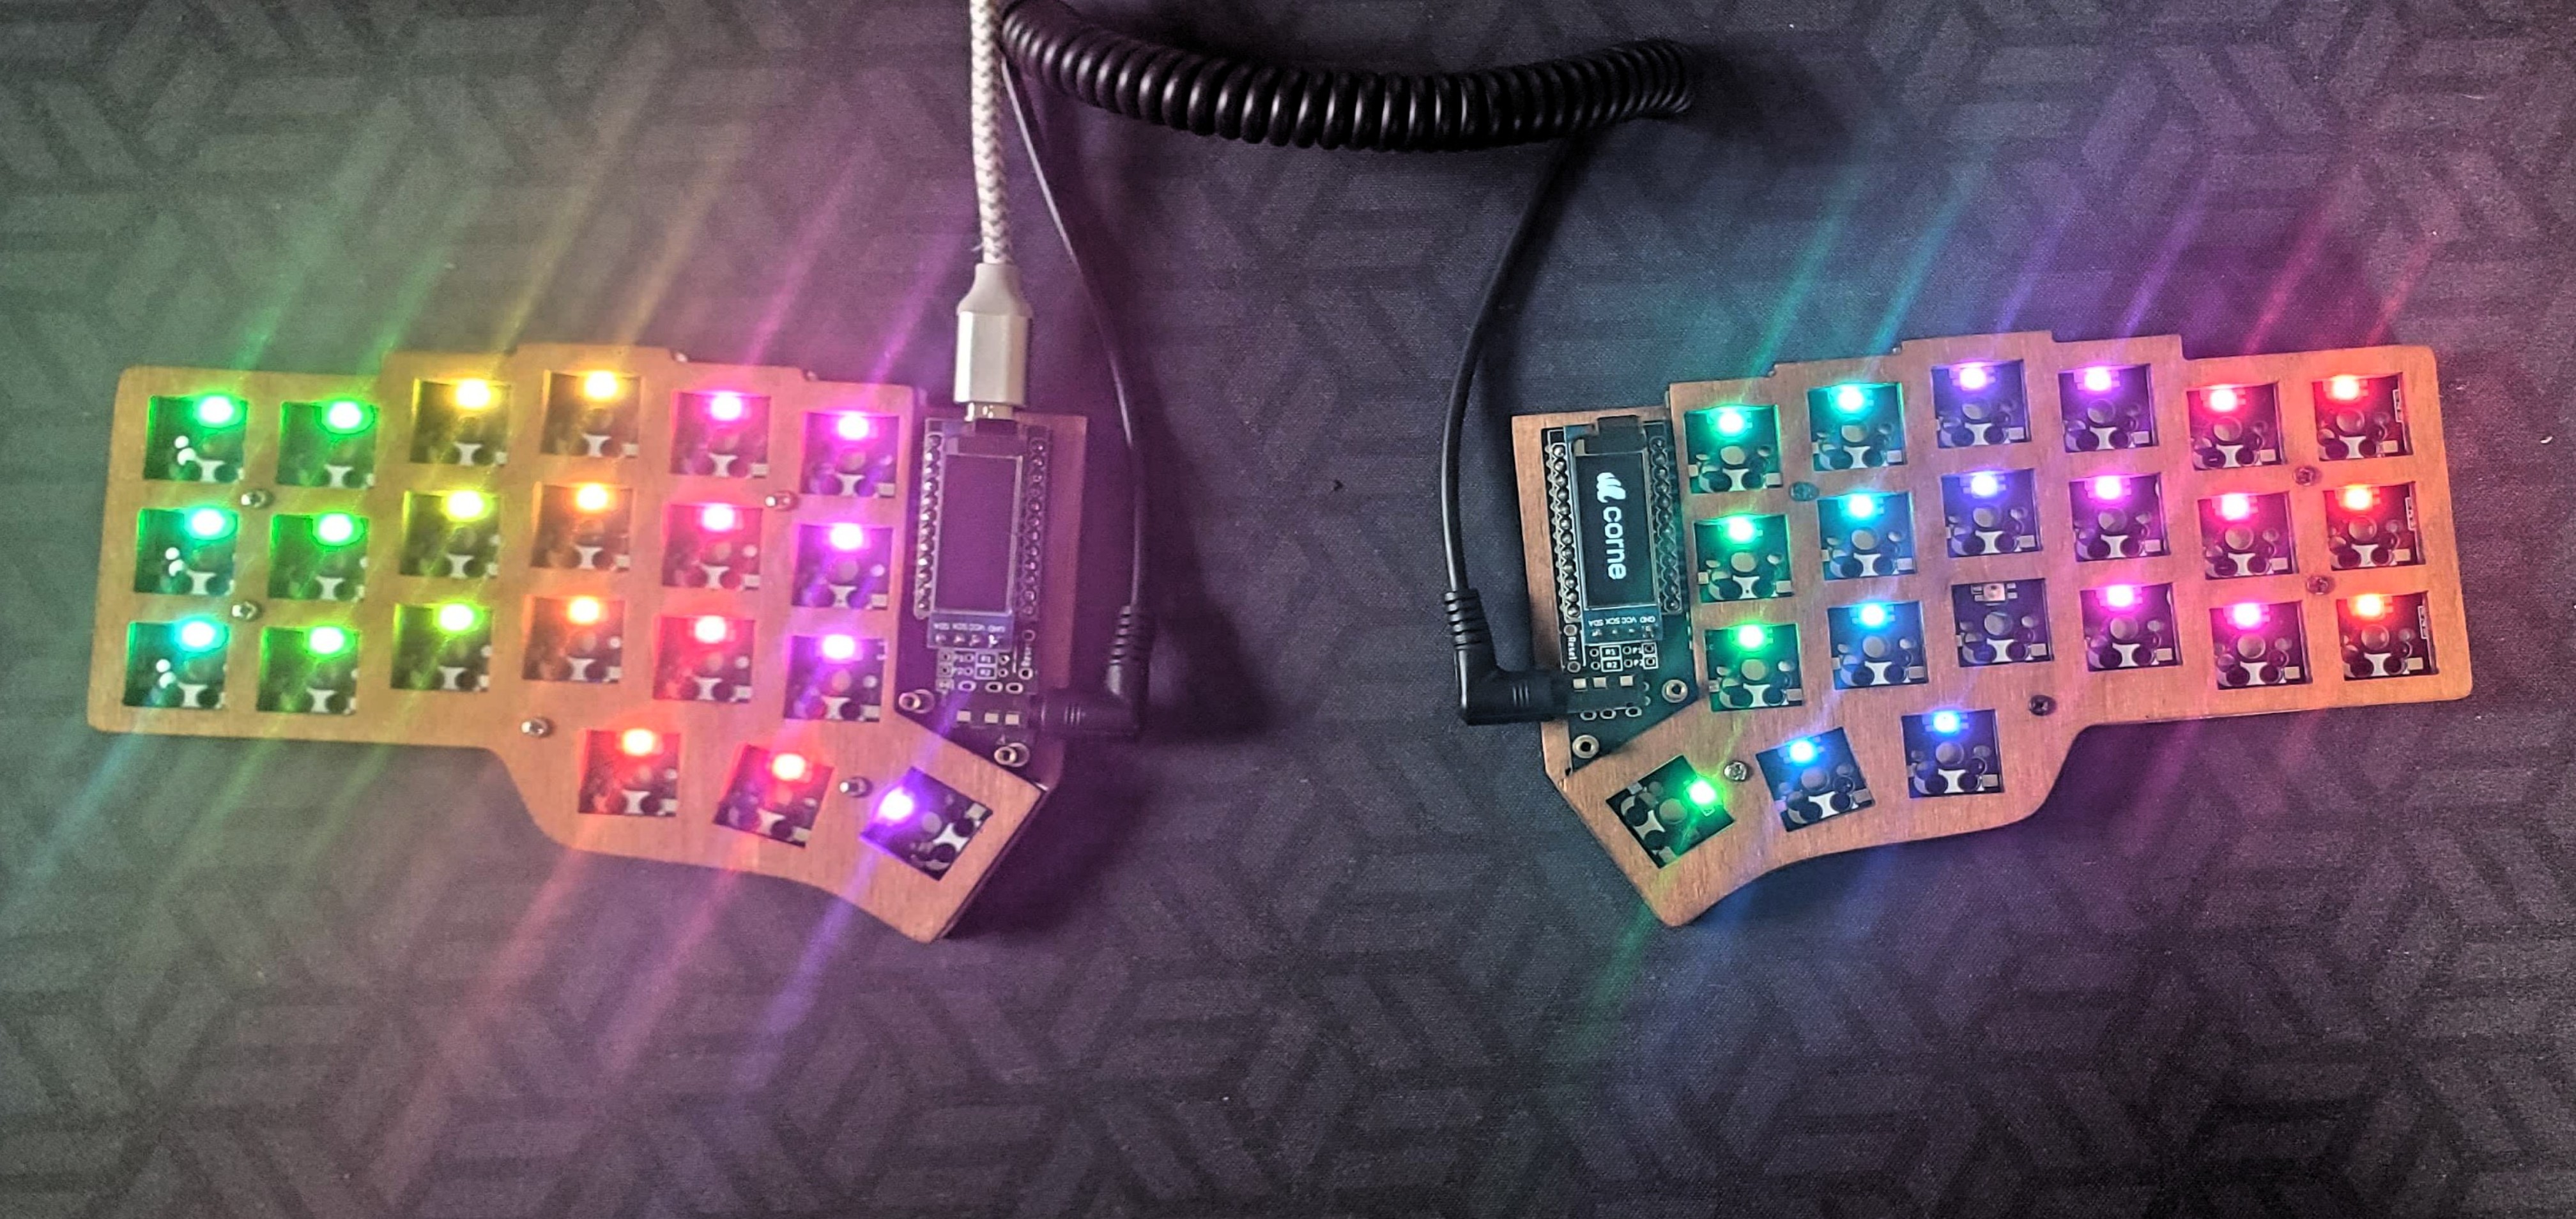
Like most hobbies, and specifically the mechanical keyboard hobby, you can’t stop at just one. This radical keyboard supports RGB LED SMDs. This entire board features SMD mounted everything! The diodes and LEDs are all SMDs. This makes it very difficult to build but super thin!.
This board is my favorite thus far. I love the small compact design. The ergonomics of the board are perfect for someone with normal sized hands. The ergodox is a great board as well, it’s just designed for people with NBA sized hands, in my experience. I could use it, but it didn’t really help with my RSI as much as I hoped. However, I know many people that love the ergodox.
Soldering this little board is not recommended for the faint of heart, or the inexperienced. Many of the components are SMD mounted. Meaning, they are absolutely tiny! The diodes have a dark brown line, indicating their polarity, drawn on a black surface. Making it really hard to see the direction of the diode. I don’t know whose design idea that was, however I’d like to pull them aside and give them a stern talking to.
The room for error on this board is minimal. The LEDs are very tempermental. They’re heat sensitive. I found that soldering at 230 degrees Celsius was the hottest I could go before I started burning them out. This made the solder very temperamental as well. It would take a second or two, to get the solder up to its melting point. Which resulted in the LED’s surface pads sometimes not really fusing well with the solder because they were already a little cool.
The diodes are all SMD mount. Sure this made the board look sleek and minimal, but my goodness they are tiny. Like boardline Macroscopic. My helping hand soldering station has a magnifying glass, and thank the light rays it does. Without it, I probably wouldn’t have been able to finish with these diodes. They’re such a pain I opted not to use them on my Helix build.
Switches
The most beloved feature about this board is that it has these really neat Kailh SMD mounted switch inserts. They make it so that my switches are hot-swappable. After my first Helix and LevinsonI decided I’d never build another board that doesn’t have hot-swappable switches. This turned out to be a life saving decision. Rather a board saving one. I had to replace a lot of my LEDs because they got too hot during the soldering process and burned out prematurely. The switches need to be removed to access them easily, and it’d be a huge pain if I had to desolder my switches everytime. Not to mention it’s fun to be able to try out new switches.
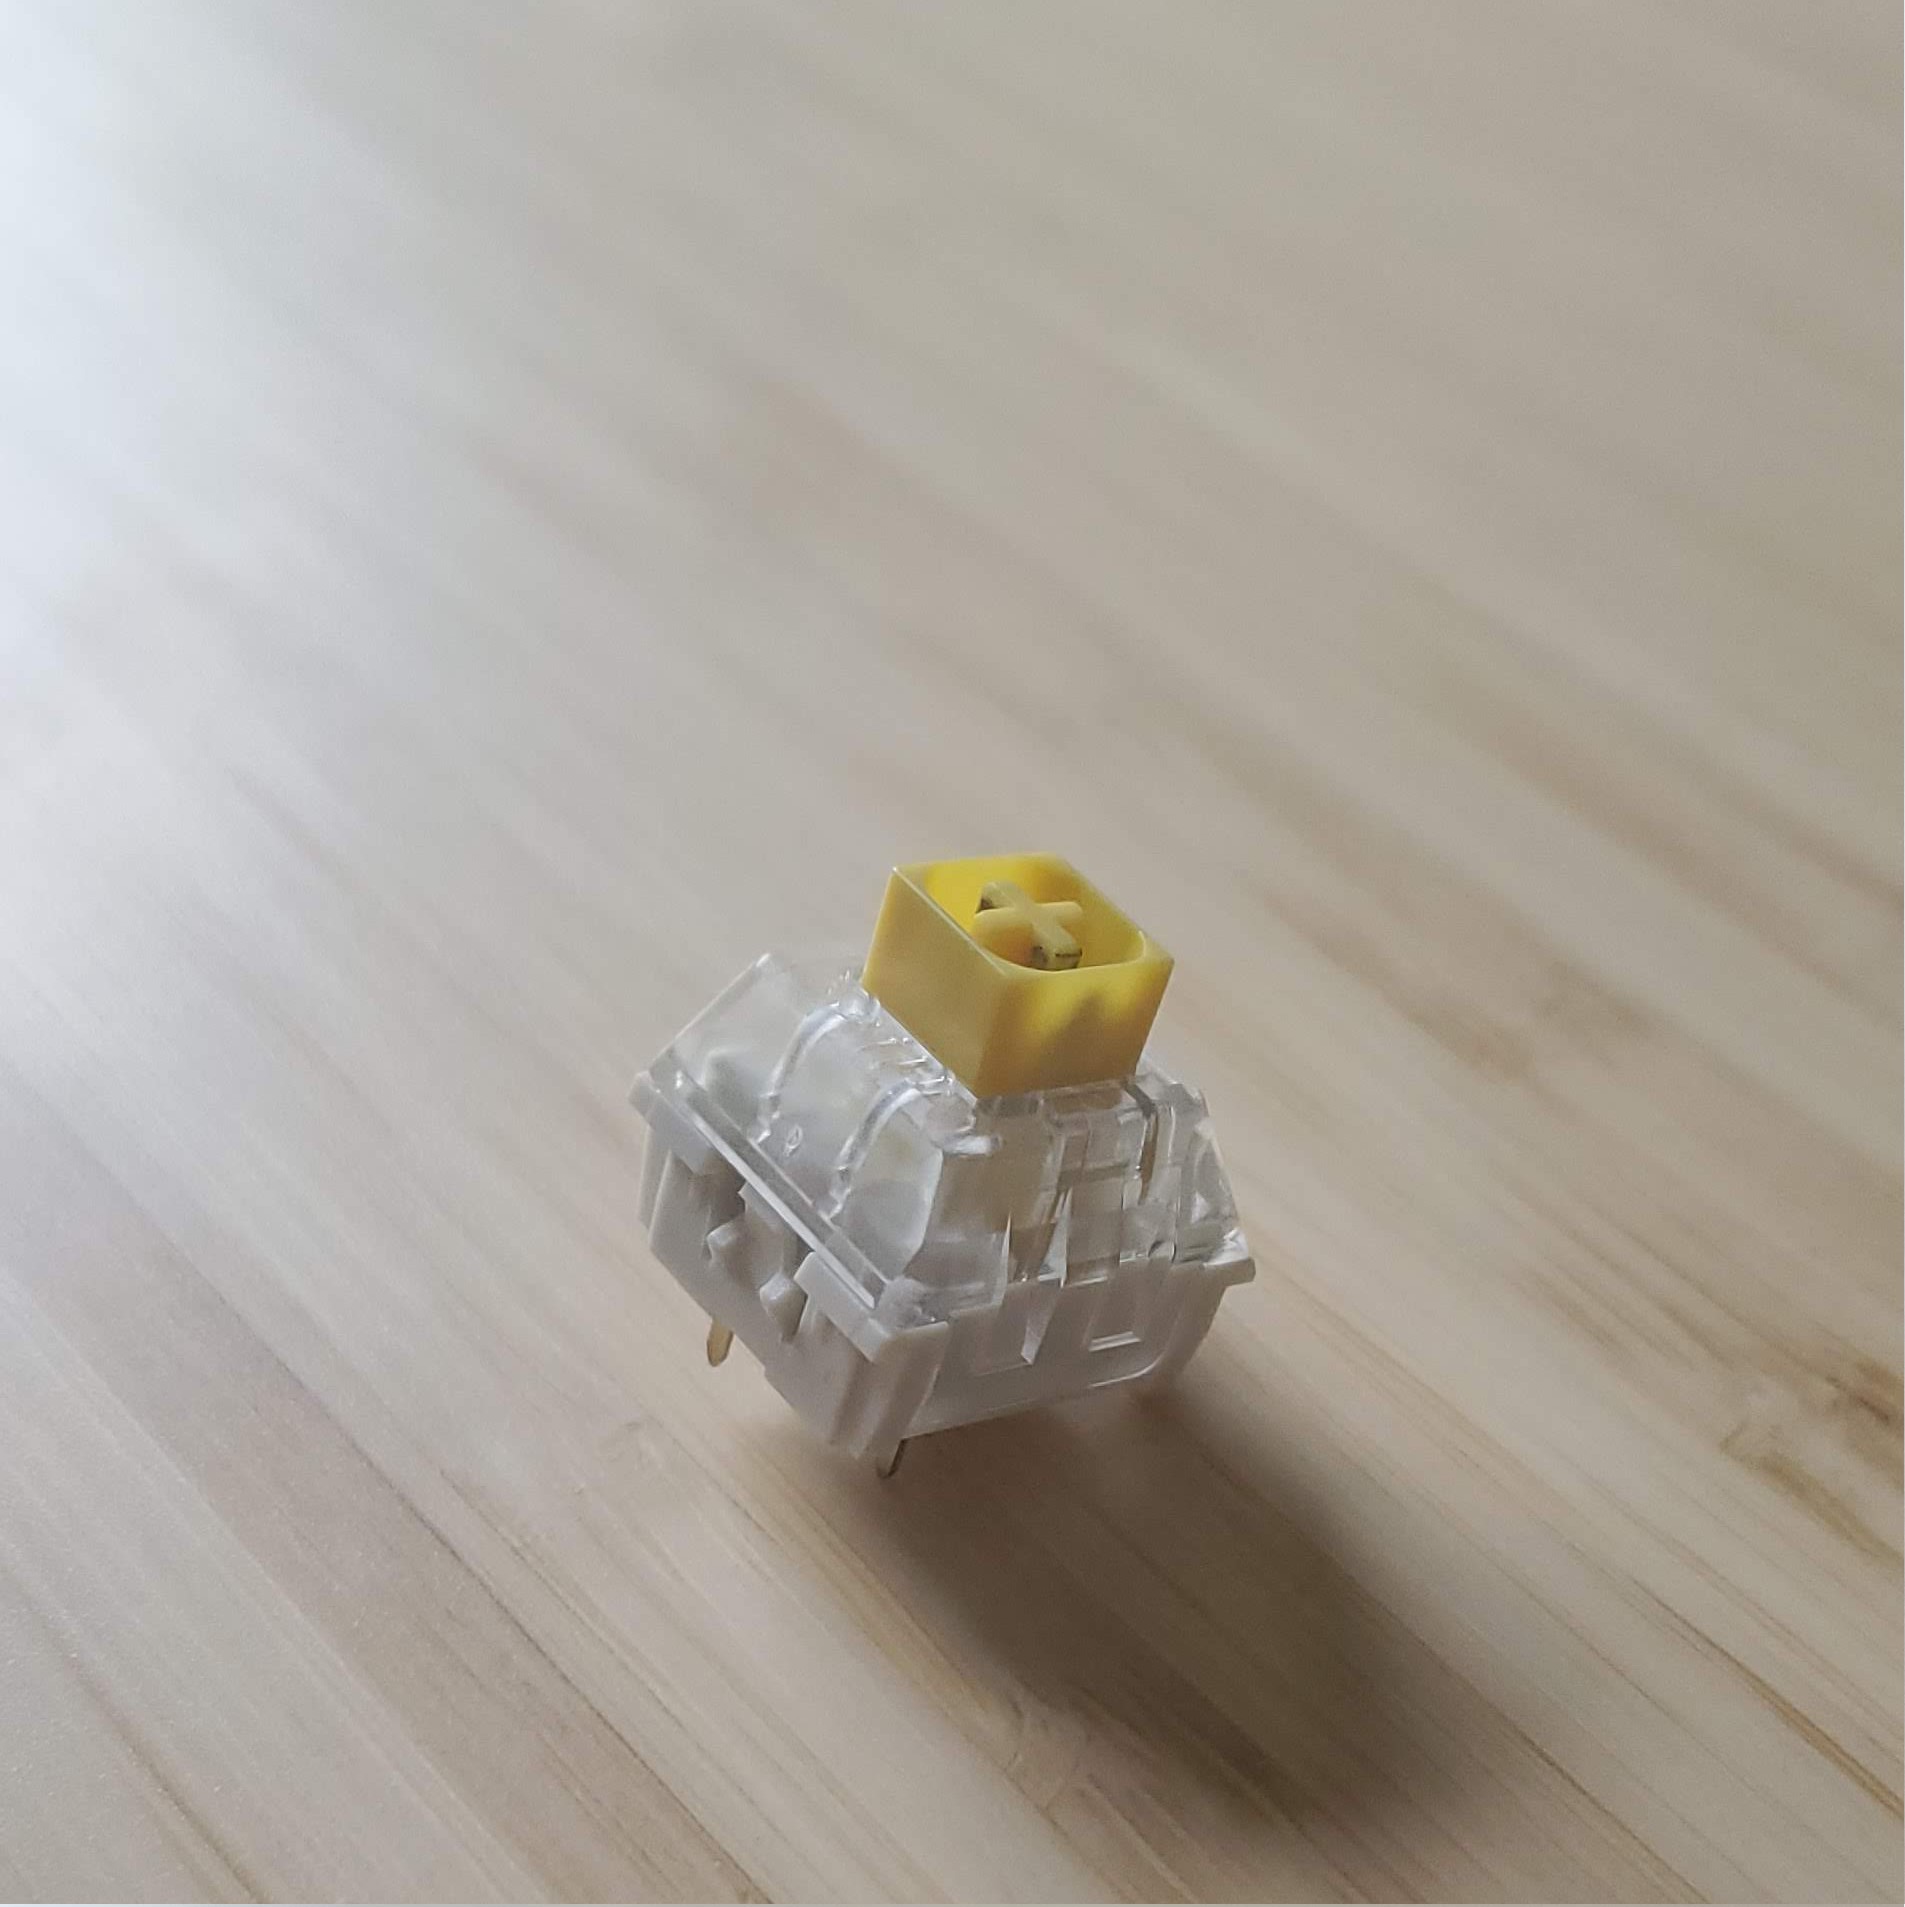
I ended up going with some linear Kailh box yellows. I wanted to try out linear switches. They have a relatively high force actuation point, but thats a nice change from the typical brown switches I usually use. I like to rest my hands on my keyboard and my other keyboards will register a key press. Which results in me having to CTRL-Z a lot. I wanted something that would stop doing that, which these yellow box switches seemed to do nicely.
Keycaps
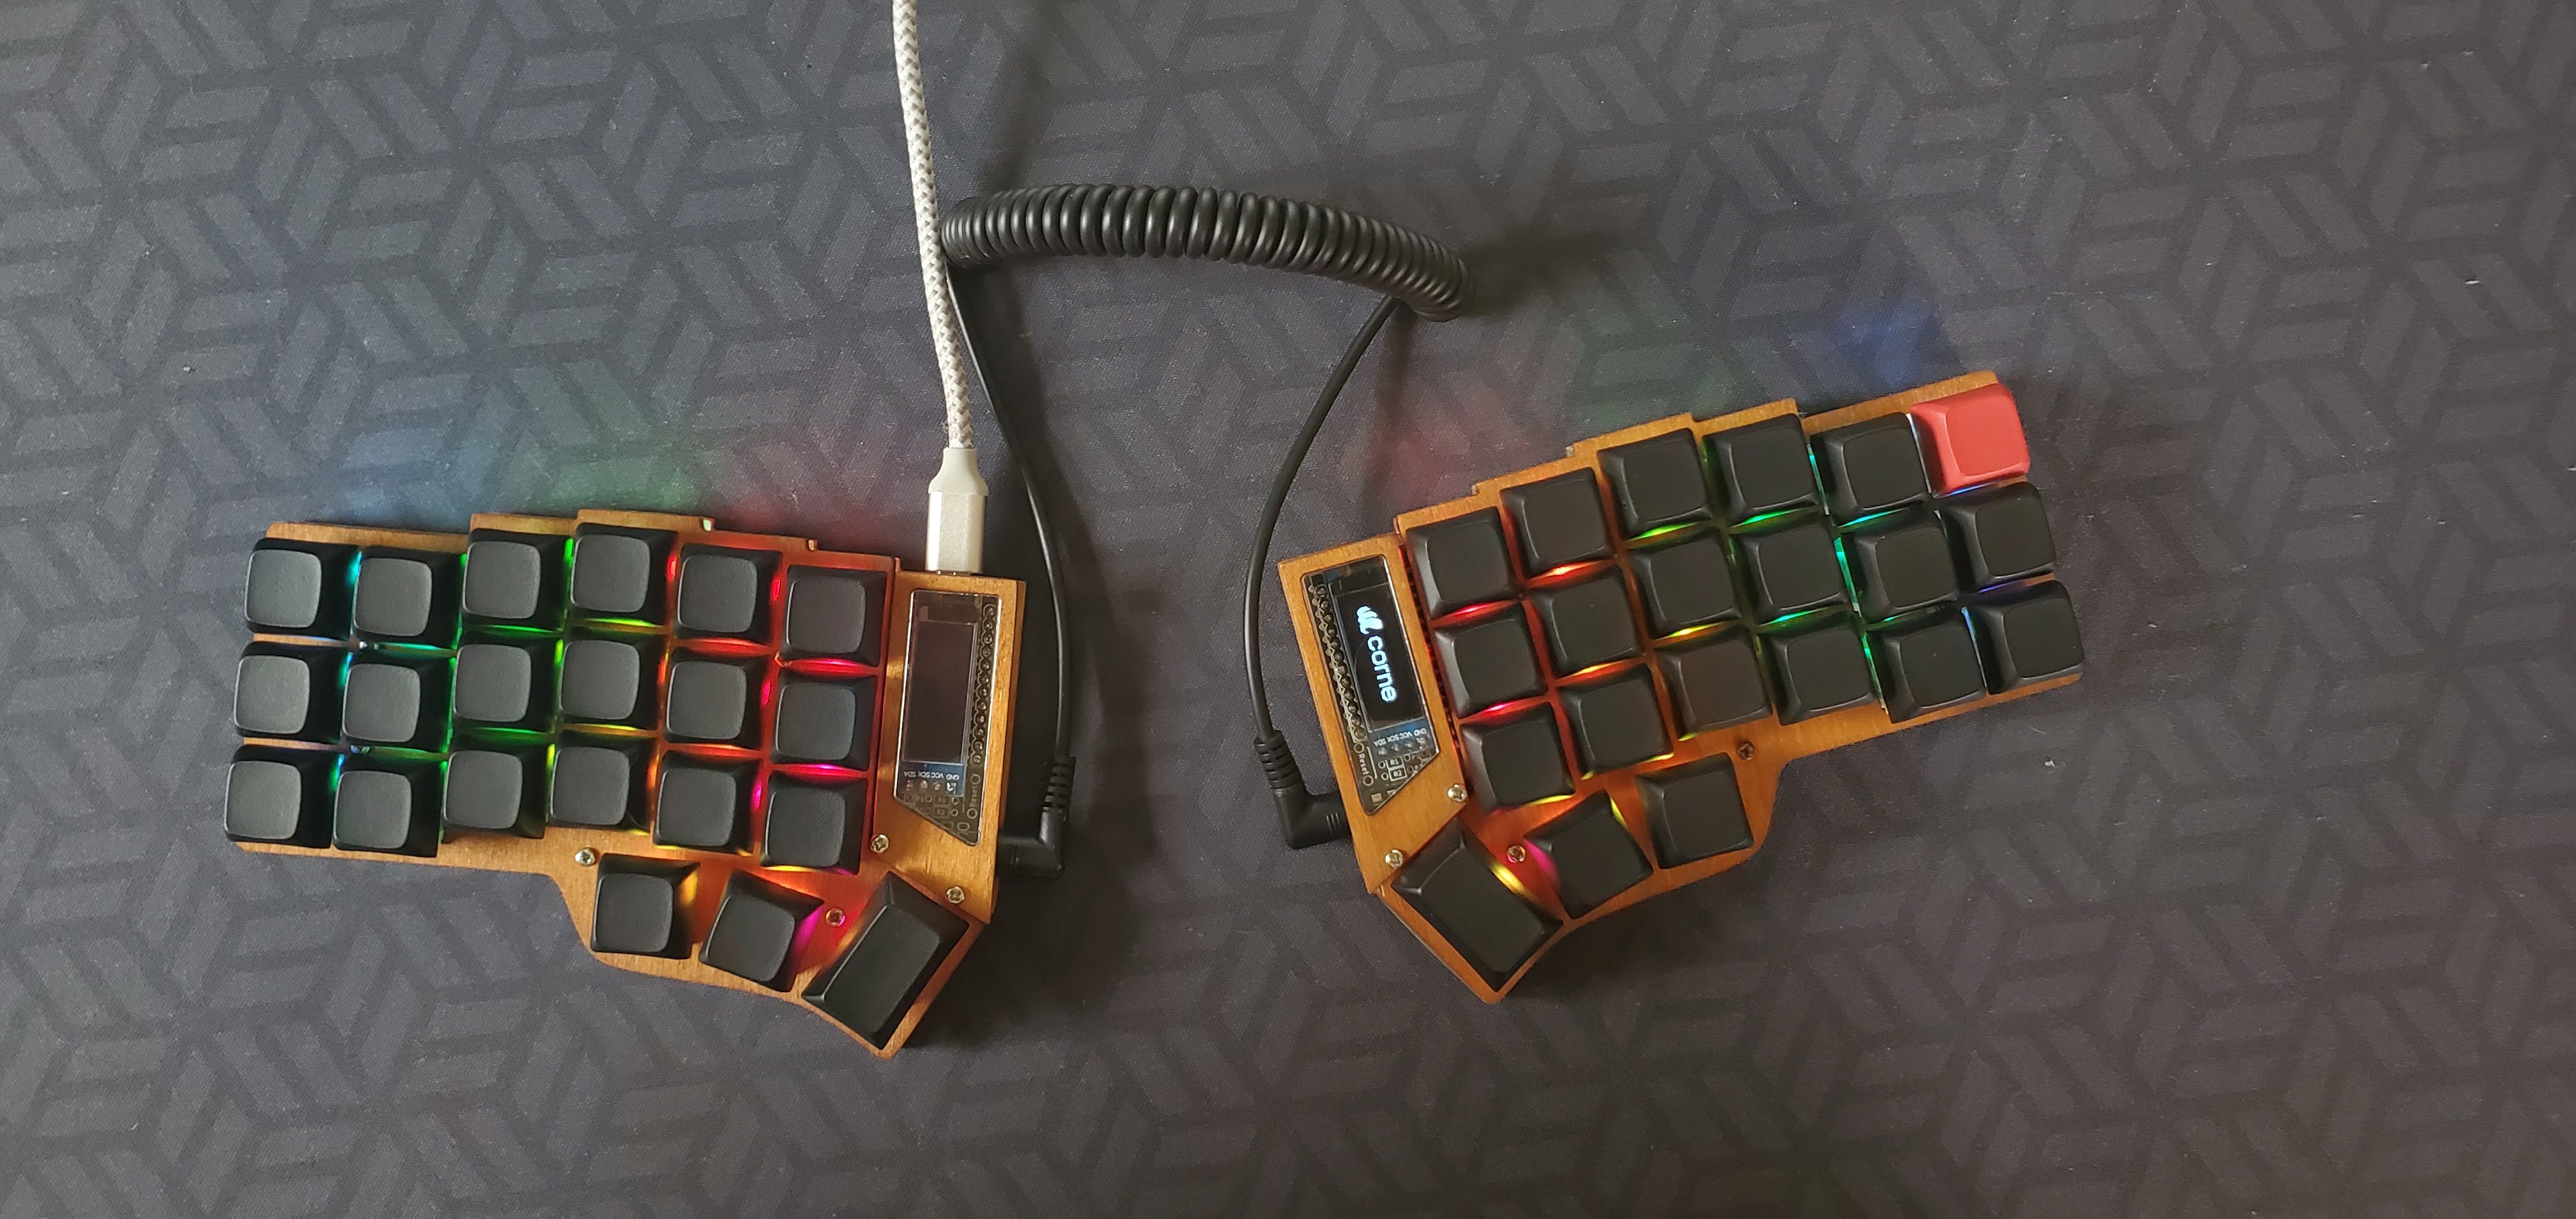
The caps are custom as well. I don’t like legends. I reprogram my board on a whim and so I don’t like to have legends because they’ll just end up being obsolete. I bought a set of XDA profile caps in white, because they were on sale. Then, I dyed them black with iDYE. It was difficult and messy but it produced great results.
Wrap up
This is a great keyboard for anyone with intermediate soldering skills. I programmed it with the, always amazing, Quantum Mechanical Keyboard firmware (QMK). I’m too lazy to figure out the GUI keymap wizard. I copy the default keymap files and edit the keymaps.c file directly. I compile it from the command like with make and avrdude.
I love this little keyboard. It’s ortho-linear layout really feel natural for my fingers. I find that my hands and fingers feel great all day. The nice solid clunking sound that comes from my case and switches is nice and satisfying. Overall, it’s going to be hard to find anything I like better. Perhaps, completely wireless is the next step.